This page contains a walkthrough of the steps required to create a bootable USB stick using the command-line DiskPart tool. Commands include wiping the disk before creating and formatting new partitions. As these commands could potentially result in data loss, ensure that the correct disk is selected. See here for more information about DiskPart usage.
The instructions in this page can be used to create a USB disk with two partitions to ensure that the USB device is supported on UEFI and BIOS firmware whilst working around the limitations of one FAT32 partition (which includes a maximum file size of 4GB and windows native format tools limiting maximum partition size to 32GB) -
Windows 10 version 1703 or newer is required to create multiple partitions on removable disks - e.g. USB flash/thumb drives. Previous versions of Windows only support one partition on removable media, and only the first partition will be mounted. Multiple partitions on Fixed type disks are supported on older versions of Windows. Fixed type external disks, preferably HDD or SDD, are recommended.
This page contains the following sections -
The drive will need to be manually selected. Use the command List disk to show all available disks -
Having identifed the correct disk as disk 1 by using the List disk command, lets select it by running the command select disk 1. WARNING - ensure that the correct disk is selected -
To double check the correct disk has been selected, use the command detail disk to display more detailed attributes -
Use the clean command to wipe the disk - a limited number of sectors will be erased, removing all partition information and effectively wiping the whole disk. Alternatively use the command clean all to write zeros to every sector on the disk, securely erasing it. WARNING - ensure you have selected the correct disk before running this command -
To create a 1GB primary partition (to be used for boot files) use the command create partition primary size=1024 (a 1GB partition size is used as this should be large enough for WinPE and boot files) -
Use the active command to make the partition bootable -
To (quick) format the selected partition with a FAT32 file system, with a volume label GRUB4DOS1, use command format fs=fat32 label=GRUB4DOS1 quick. Where fs= selects the file system to be used (options are fat32, ntfs), label= is the volume label to assign to the drive, and quick completes a quick format -
To mount the new partition (to assign a drive letter) as Drive R, use the command assign letter=r -
To create a second primary partition spanning the rest of the disk, use the command create partition primary -
To (quick) format the selected partition with as NTFS with a volume label GRUB4DOS2, use command format fs=ntfs label=GRUB4DOS2 quick -
To mount the new partition (to assign a drive letter) as Drive S, use the command assign letter=s -
Output from re-running the command detail disk -
"...Windows Preinstallation Environment (Windows PE)..is a minimal..operating system with limited services, built on the Windows..kernel. It is used to prepare a computer for Windows installation, to copy disk images from a network file server, and to initiate Windows Setup...." (from What is Windows PE?)
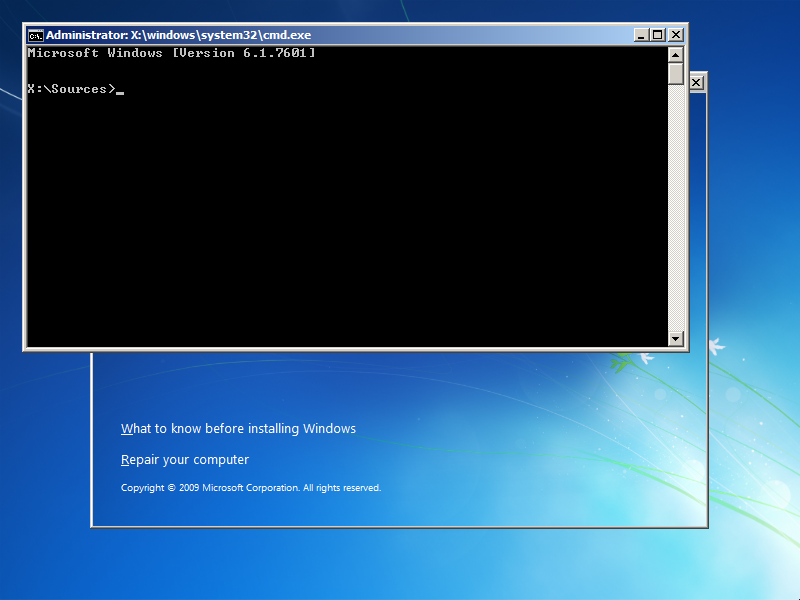
WinPE is included in Windows installation media and is used to run Windows Setup. A WinPE bootable USB drive can be created using tools included in Windows NT 6.* and Windows NT 10.*. WinPE screenshot. This is an unmodified boot.wim file from Windows Installation Media - this version of WinPE defaults to running Setup.exe. The command-prompt/console was accessed by pressing the Shift + F10 keys.
You will need Windows installation media for this step - a DVD or disk image can be used. If using a disk image you will need to mount it as a virtual drive or extract files from the image.
USB partition/drive letters -
| GRUB4DOS Device |
Windows Mountpoint |
Notes |
|---|---|---|
| (hd#,0) | R: | USB boot partition - FAT32. Drive letter R: was assigned by DiskPart in the preceding section. |
| (hd#,1) | S: | USB data partition - NTFS. drive letter S: was assigned by DiskPart in the preceding section. |
Copy the following files and directories from windows installation media to your USB boot drive (with paths relative to the volume root, directories in red and files in blue) -
Copy the \sources\boot.wim file from windows installation media to your USB boot drive - R:\sources\boot.wim
The directory structure of your USB FAT32 partition should be similar to the following (there will be other sub-directories and files in R:\boot\ and R:\EFI\) -
We will be using GRUB4DOS to boot on BIOS firmware. Rename R:\bootmgr to R:\winpebootmgr - this file will be chainloaded by GRUB4DOS.
We will be using GRUB4EFI to boot on UEFI firmware. Rename R:\EFI\boot\bootx64.efi to R:\EFI\boot\winpebootx64.efi - this file will be chainloaded by GRUB4EFI.
Download GRUB4DOS from the http://grub4dos.chenall.net/ site - version 0.4.6a 2020-03-04 was used during testing.
Extract \grldr from the GRUB4DOS download and save as R:\bootmgr. As Windows DiskPart was used to format the partition, the volume boot record will load the file named \bootmgr when the USB device is booted on BIOS firmware [remember - the partition was marked as Active using DiskPart].
Create a text file R:\menu.lst with the following contents -
Download GRUB4EFI from the http://grub4dos.chenall.net/categories/for-UEFI/ site - version 2023-02-23 was used during testing.
Extract \bootx64.efi from the GRUB4DOS download and save as R:\EFI\boot\bootx64.efi. This is the default file/path when the device is booted on UEFI firmware.
Create a text file R:\EFI\grub\menu.lst with the following contents -
Document date - 12th April 2023