Screenshot of the above menu (detail) -
The following sections are covered in this page -
The following information is from the iPXE homepage -
Several versions of ipxe are included in the Tiny PXE Server package, including -
iPXE has a command line interface - refer to iPXE command-line for more information. It's also possible to script commands using a plain text file - for more information please refer to iPXE scripting. iPXE scripts must contain the text string "#!ipxe" (without quotes) in the first line - e.g. -
iPXE scripting supports variables - a variable can be defined using the set command. The example below will set the boot-url variable as http://192.168.2.1, which is then used throughout the remainder of the script -
Certain variables are predefined based on settings obtained from Tiny PXE Server -
Setting a variable defined by settings from the DHCP server -
One of the following methods can be used to execute a script -
This section covers creating a BASIC iPXE menu. For more detailed information about the iPXE menu system please refer to the following (external links) -
For a more complex sample menu refer to https://gist.github.com/robinsmidsrod/2234639. Refer also to the sample menu included in the Tiny PXE Server download package - \files\menu.ipxe.
Open a text editor (e.g. notepad.exe) and add the following text on the first line -
Now add a variable to identify the HTTP Server - subsequent menu options can then use this to load any required files from the server. Note, any of the following options could be used for the boot-url variable (adjust to suit your setup) -
Next lets add a menu -
Now lets add a menu item (syntax is item [label] menu_text - in the example below the label is "winpe", the text that will be displayed is "WinPE.iso (SANBoot)" -
Or alternatively, a menu item with a hotkey (W in this case) -
Now we need to add the choose command to script what happens if the item is selected -
Now add the commands that will be executed for the menu item if it's selected (note that a line starting with a : is a placemark used with the goto command - syntax is :[label]. In this case we want to skip to the winpe section as this is the label used for our menu entry (item winpe ....))-
Putting all of this together -
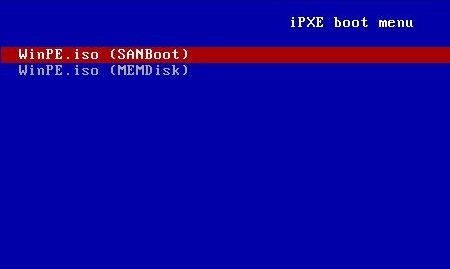
Lets add a second menu item and add some comments so it's a bit easier to read (any lines starting with a # will not be executed) -
Screenshot of the above menu (detail) -
Building on the information in the iPXE Menu System section, let's add a submenu. To demonstrate the syntax for submenus, a WinPE submenu will be added as a main menu item, with two WinPE menu options added to the new submenu. Submenus are added as an item using the item [LABEL] menu_text syntax. E.g. -
Screenshot (detail) -
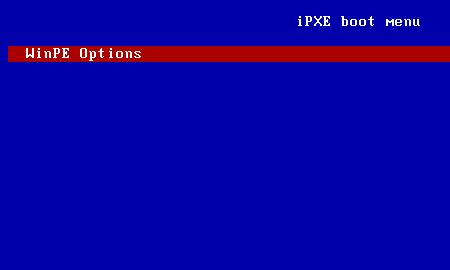
Selecting WinPE Options in the main menu will load the settings in the :winpe placemark - in this case another menu. E.g. -
Screenshot (detail) -

Now we need to add the settings for the menu options in the new WinPE (Sub)menu (winpe1 and winpe2) -
New menu -
The Tiny PXE Server download contains precompiled version of iPXE - some of the iPXE commands (including console) are not supported in these builds.
To compile your own iPXE, refer to the following website - https://rom-o-matic.eu/. Configuring iPXE is beyond the scope of this document. There are a bewildering amount of options available if the Advanced settings are selected so choose carefully. Advantages of compiling your own build include -
Document date - 28th February 2017(DRAFT)