
The instructions in this page cover installing ubuntu or one of the ubuntu variants (ubuntu, kubuntu, lubuntu, etc.) using network (internet) hosted source files. Page contents -

If using this first method then no ubuntu source files are required on the Tiny PXE Server system - internet access is however required.
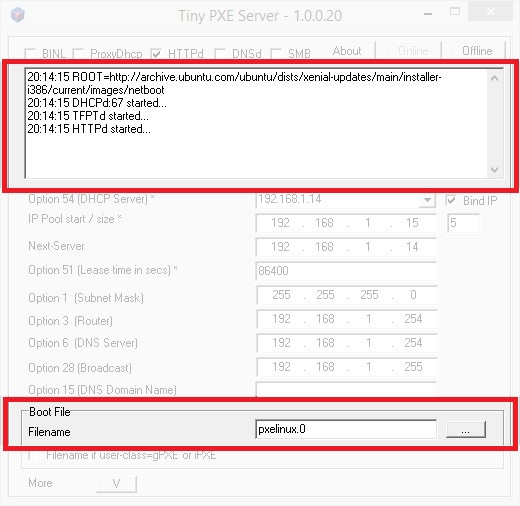
Use the following settings in the Tiny PXE Server configuration file (config.ini) -
NOTE - other ubuntu mirrors can be used - edit the path in the root field as required.
Screenshot of the Tiny PXE Server GUI when using the settings above -

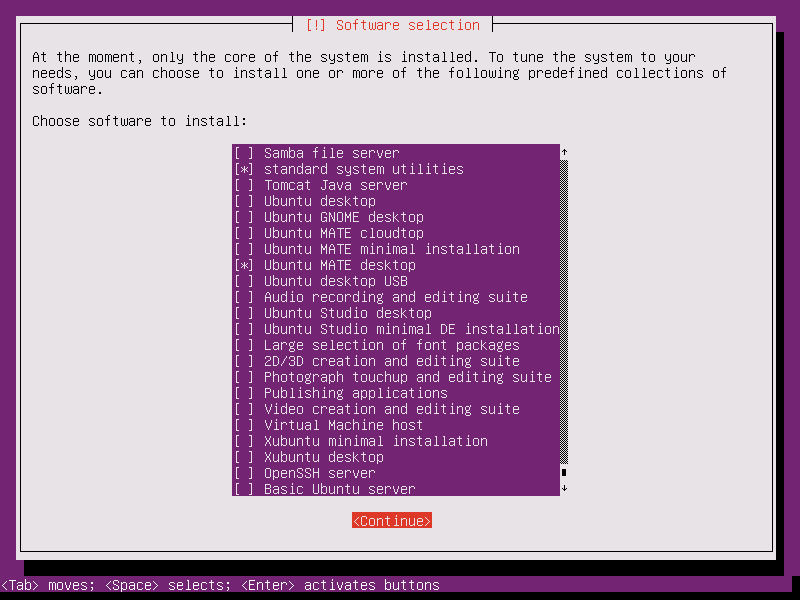
Complete the steps in the ubuntu netinstall GUI to install the Operating System - this method supports installing to a local disk or iSCSI Target.
This method uses the same ubuntu Netinstall file(s) as ubuntu - Method 1, however the required Netinstall files are copied locally to the Tiny PXE Server directory. This method can be used to install ubuntu (and variants) using iPXE, pxelinux or grub4dos - an internet connection is still required as Netinstall will need internet access to download the required files during the installation. A local mirror can be used, however setting up a local mirror is beyond the scope of this guide).
32-bit ubuntu Netinstall files -
64-bit ubuntu Netinstall files -
NOTE - 64-bit Netinstall files are used in the examples in this page - amend as required if using the 32-bit files. The 64-bit version is required if installing ubuntu 64-bit, and the 32-bit version is required if installing ubuntu 32-bit.
Download the 64-bit mini.iso file (see links here) to the C:\pxesrv\files\iso\ directory. Let's rename this file to avoid any conflicts if adding options for a 32-bit (or Debian) Netinstall - rename C:\pxesrv\files\iso\mini.iso to C:\pxesrv\files\iso\ubuntu.xenial.amd64.netinstall.iso.
Alternatively, download the required kernel and initrd files (see links here), or extract them from mini.iso, and copy them to your Tiny PXE Server directory -
Now add a menu entry for your preferred Network Bootstrap Program -
Remember to ensure that the required files are copied to your Tiny PXE Server root directory -
Add the following to C:\pxesrv\files\pxelinux.cfg\default (create this file if required) -
Click on one of the following for sample config.ini settings (edit to reflect your own setup) -
Remember to ensure that the required files are copied to your Tiny PXE Server root directory -
Add the following to C:\pxesrv\files\menu.lst\default (create this file if required) -
Click on one of the following for config.ini settings (edit to reflect your own setup) -
Remember to ensure that the required files are copied to your Tiny PXE Server root directory -
Add the following to the menu section of C:\pxesrv\files\ipxe_menu.txt (create this file if required) -
Add the following to the menu options section of C:\pxesrv\files\ipxe_menu.txt -
E.g. -
NOTE - remember to change set boot-url http://${dhcp-server} if using ProxyDHCP.
Click on one of the following for config.ini settings (edit to reflect your own setup) -
iPXE menus are essentially scripts. It's also possible to specify a script using the altfilename option in config.ini. For example, create a script in the TFTP root directory C:\pxesrv\files\ubuntu.netinstall.txt > add altfilename=ubuntu.netinstall.txt to config.ini. NOTE - remember to change any references to ${dhcp-server} to ${next-server} if using ProxyDHCP.
Sample iPXE script ubuntu.netinstall.txt -
Document date - 28th February 2017(DRAFT)