iSCSI Console - version 1.5.1 tested. The project is also hosted on GitHub (see here). Please note that iSCSI Console "...is merely a demo project that exposes some of the capabilities of this library..." (copied from GitHub page). Whilst some features such as authentication and persistence are missing (Targets require manual configuration every time iSCSI Console is started/restarted), it has the benefit of being portable and supports physical disk devices - something missing in other products without purchasing a licence. The project is opensource and supports SAN booting Windows on systems with BIOS or UEFI Firmware.
Service Name: N/A
| Product | Licence | Trial | Open source | BIOS | UEFI (Stage1) |
UEFI (Stage2) |
32-bit | 64-bit native |
Portable |
|---|---|---|---|---|---|---|---|---|---|
| iSCSI Console Version 1.5.1 |
GNU Lesser General Public License v3.0 | N/A | YES | YES | YES | YES | ✔ | ✔ | ✔ 1 |
Project information copied from GitHub (here) -
Based on information from here, "...Supported operating systems include Windows 2000 / Windows XP / Server 2003 / Vista / 7 / Server 2008..." Based on my own tests it is also supported on Windows 8.1 Update (32-bit and 64-bit) and Windows 10.0.14393 (64-bit).
This page contains the following sections -
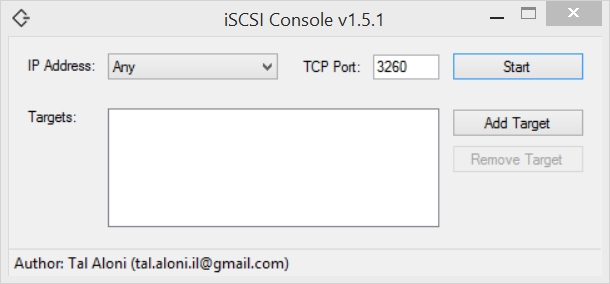
The iSCSI Console user interface -

The following screenshot shows iSCSI Console running without Administrator privileges -

Select the Add Target button to configure a Target -
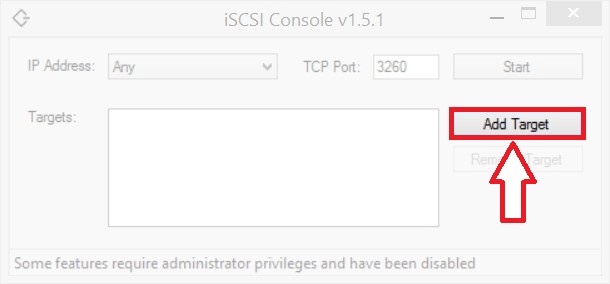
If iSCSI Console is running without Administrator privileges, then the Add Physical Disk and Add Volume options will not be available -

iSCSI Console running with Administrator privileges -
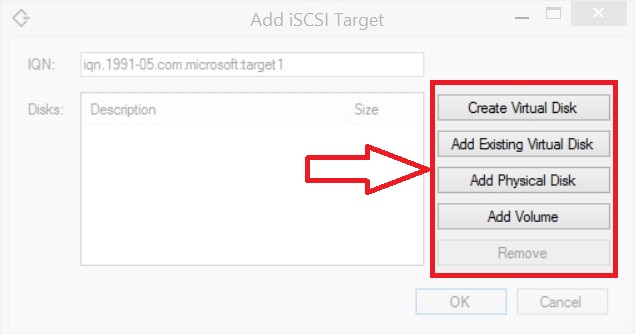
Press the Ctrl button to access the (hidden) Create RAM Disk option -
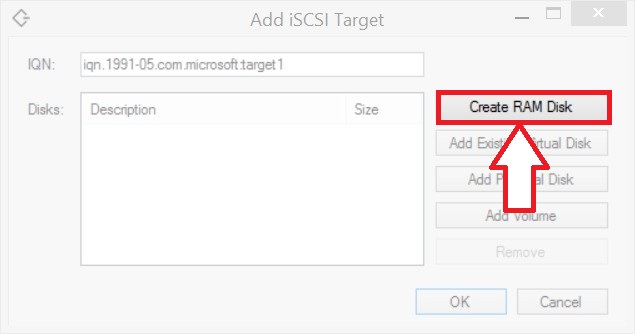
This walkthrough contains step by step instructions for setting up an iSCSI Target using iSCSI Console. The lengthiest part of the process is likely to be creating a Virtual Hard Disk (.vhd) - this step can be ommited and an existing target used if available.
Select the Add Target button to configure a Target -

Select the Create Virtual Disk button to create a .vhd file -
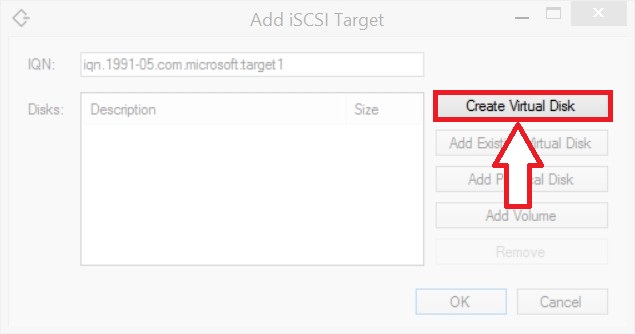
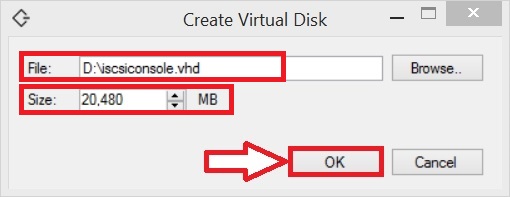
The Create Virtual Disk options are limited to specifying a File (with path) and selecting a size (in MiB). In this test the file has been set as D:\iscsiconsole.vhd with size set as 20480 MB (20 GiB). Once these parameters have been configured click on the OK button (note that there will be a delay as the disk is created) -
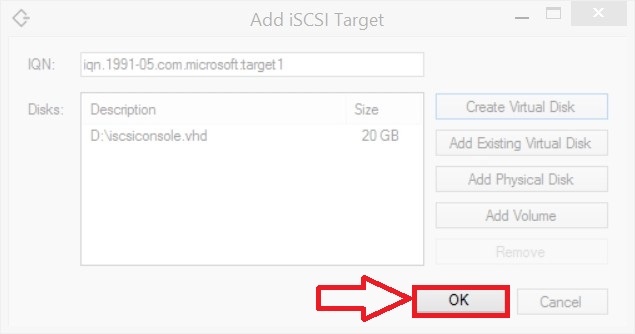
After creating the new virtual disk it will be listed in the iSCSI Console Disks: section -
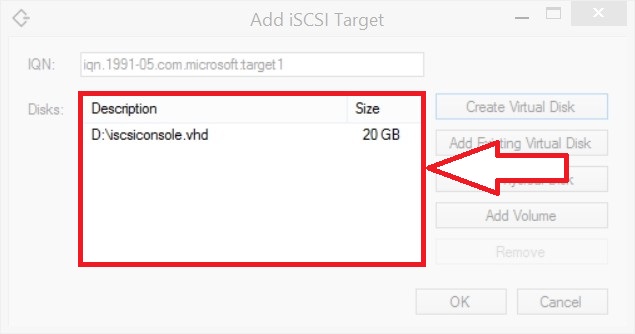
Click on the OK button to create the Target -
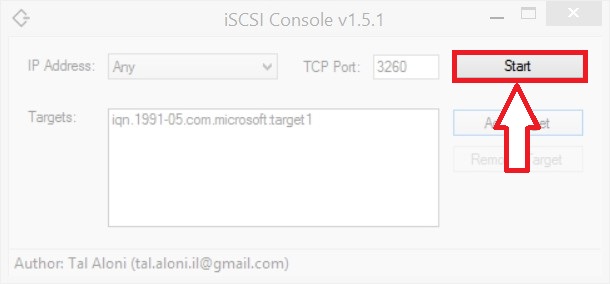
Click on the Start button to start the service -
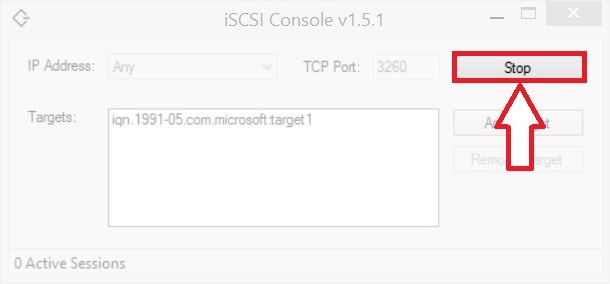
Click on the Stop button to start the service -
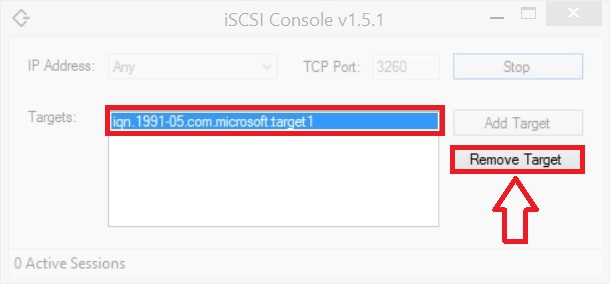
Remove a Target by selecting it in the iSCSI Console Target: section and then click on the Remove Target button -
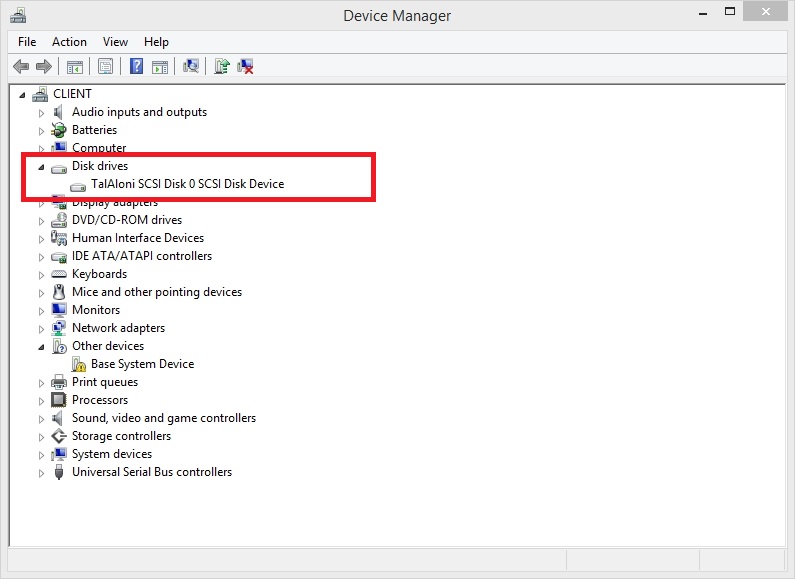
Device Manager screenshot - 64-bit Windows 8.1 Update SAN booted from an iSCSI Console Target -
iSCSI Console has a .NET Framework 2.0 dependency. It is possible to run the program as a portable application on a host Operating System without .NET 2.0 installed by using mono.exe to launch the program. Tal Aloni, the iSCSI Console developer, has kindly packaged mono for use with the program.
C:\iSCSIConsole\x64\mono.exe C:\iSCSIConsole\ISCSIConsole.exe
Please note that when launching mono.exe it will search for library dependency files using the relative path "..\lib" - e.g. if mono.exe is in the path "C:\path\to\mono.exe" then it will search for the library files using the path "C:\path\lib\"
Document date - 14th June 2019