The majority of the instructions in this page are duplicated in the Installing Windows NT 6.* section.
Whilst there are alternative methods for installing Windows NT 5.* (Windows 2000/XP/2003) including Remote Installation Services, it's also possible to run WINNT32.exe from WinPE - this is covered below.
Setup Tiny PXE Server to include MistyPE (or an alternative WinPE build - including boot.wim from Windows installation media, WinRE, etc) using the instructions in the WinPE section of this guide (copying boot.wim, boot.sdi, boot\BCD, etc - filename=pxeboot.n12 in config.ini).
Using Windows XP as an example, copy the contents of your Windows XP installation CD to C:\pxesrv\files\winxp (edit paths to reflect your own setup). Now share the C:\pxesrv\files\winxp directory as sharename winxp.
Start pxesrv.exe.
Network boot the Client PC - loading WinPE.
Start network services if they are not started automatically (MistyPE does not run the Wpeutil InitializeNetwork command at startup).
Server setup (information required for connecting to the server share winxp) -
To connect to a network share from WinPE the following command syntax is used -
Where -
E.g.
You will need to prepare the hard disk on the client system before running winnt32.exe - create an active primary partition for the Windows installation if required. diskpart.exe in WinPE can be used to prepare the disk. We'll assume in the instructions below that the volume to be used for the Windows Operating System is mounted as C:
The Windows NT 5.* boot loader NTLDR is loaded from code in the volume boot record - this code is added when formatting the volume. If the volume was formatted in WinPE 2.* or newer then the volume boot record code will need to be edited (WinPE 2.* adds code for BOOTMGR - the windows NT 6.* boot loader). Use the bootsect.exe tool with the following command (edit to reflect your own setup) -
Assuming there were no issues connecting to the network share, and the share was mounted as Z: - copy Z:\I386 to volume C:.
Add a configuration file to C:\I386 - e.g. C:\I386\winnt.sif. Contents of my winnt.sif file -
winnt.sif settings can be found in ref.chm (Extract from Windows source CD/files - it's in \SUPPORT\TOOLS\DEPLOY.CAB). Alternatively refer to - http://unattended.msfn.org/unattended.xp/view/web/19/
Run the following command from a command prompt (edit to reflect your own setup) -
Alternatively use the following batch file (edit to reflect your own setup) -
Contents of volume C: after running the above command -

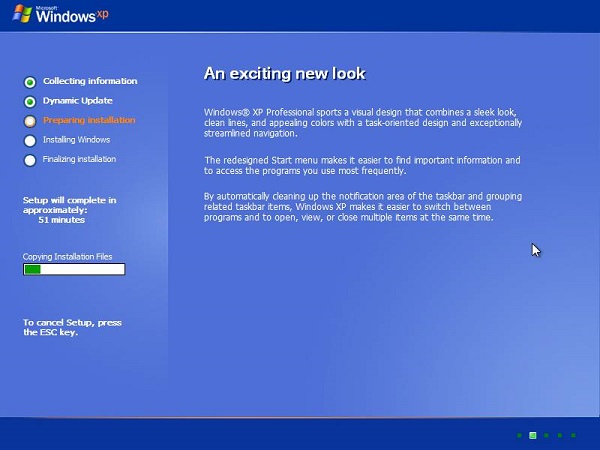
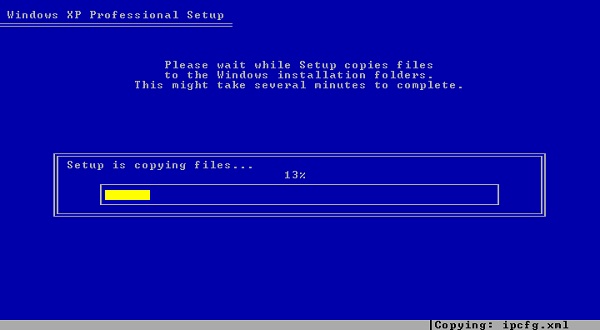
Reboot the client PC to complete the Windows XP installation process -
Document date - 28th February 2017(DRAFT)