
Contents -
The screenshots in this page have been captured from the Windows To Go system set up in Walkthrough 1, with 64-bit Windows 10 on partition 2 booted/running.
This page covers using the Disk Management Console diskmgmt.msc to remove/change drive letters - restricting access to other operating systems on the Windows To Go drive. This is useful in multi-boot systems to reduce the risk of accidental writes to the offline operating system.
The Windows To Go device has four seperate partitions. Partition 1 contains boot files and is not mounted in the running Windows - this is the default Windows behaviour.

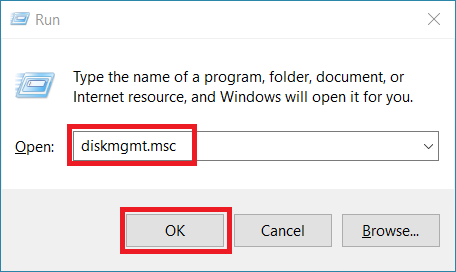
Open the Disk Management Console. Win + R to open a Run Dialog > diskmgmt.msc > OK

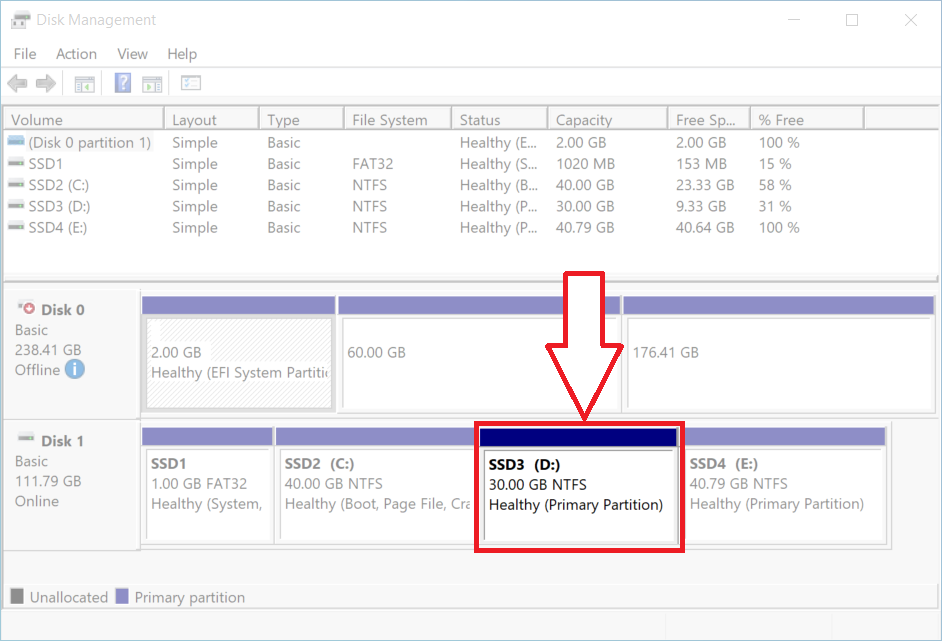
To remove the mount point for the offline operating system on Partition 3, right-click on the drive/volume in the diskmgmt.msc GUI -
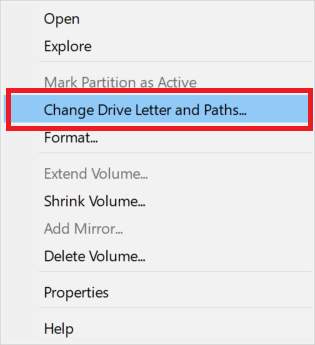
Select Change Drive Letter and Paths... -
Open the Disk Management Console. Win + R to open a Run Dialog > diskmgmt.msc > OK

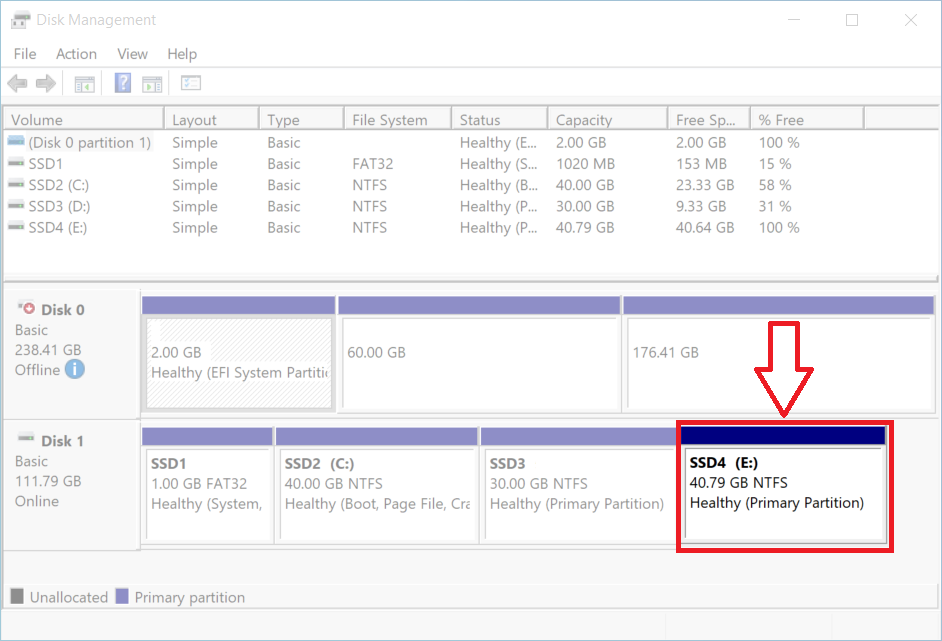
To change the mount point for the shared storage in Partition 4, right-click on the drive/volume in the diskmgmt.msc GUI -
Select Change Drive Letter and Paths... -

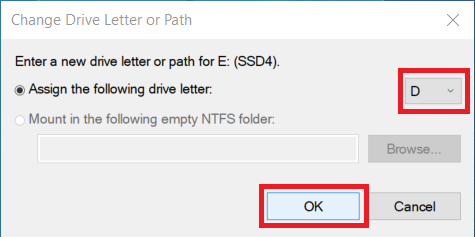
Use the drop down menu to select your preferred mount point (drive letter) - mount points already in use will not be available. Press on the OK button -
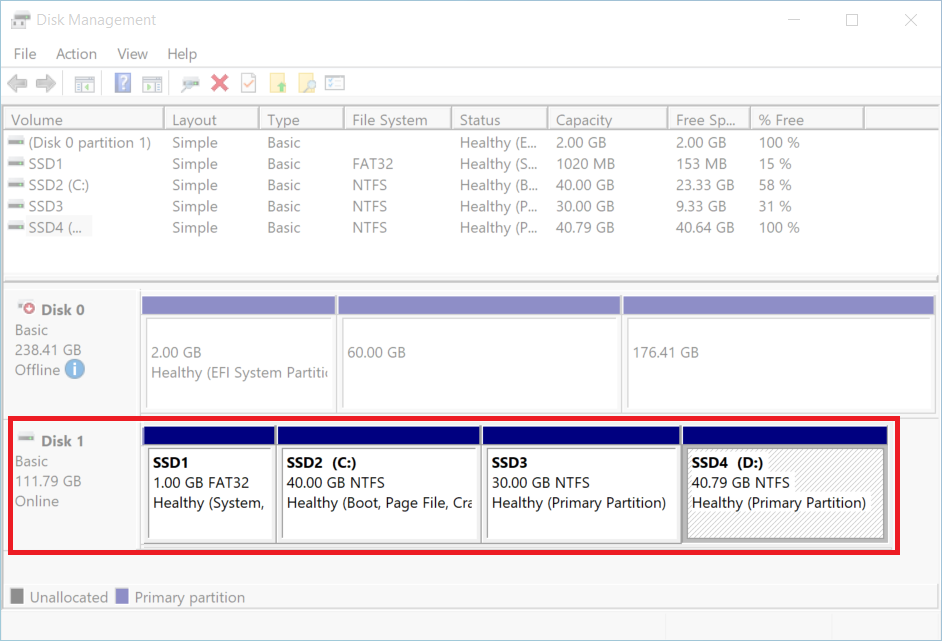
Changes displayed in the diskmgmt.msc console -
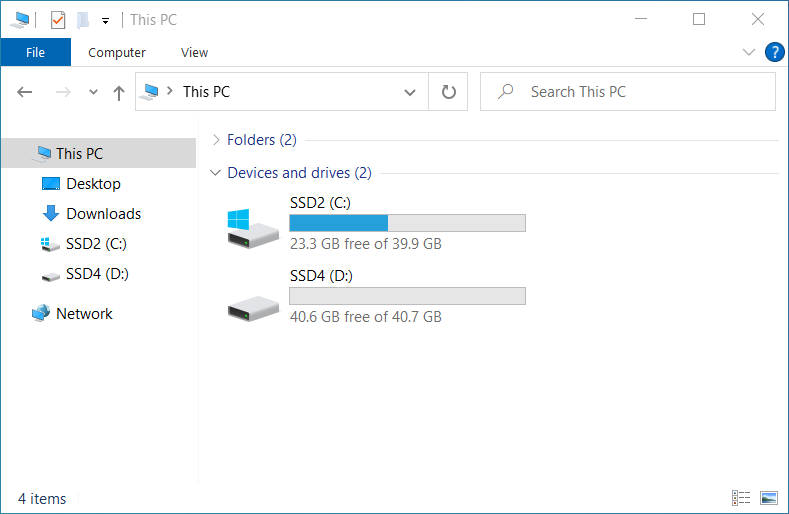
Changes displayed in the Windows Explorer file manager (note that Partition 3 (volume ID SSD3) is no longer available)
DiskPart can be used as an alternative to the Disk Management Console. As mentioned previouly, the Windows To Go device has four seperate partitions. Partition 1 contains boot files and is not mounted in the running Windows operating system. In this section DiskPart will be used in the Windows To Go Operating System booted from Partition 3 -
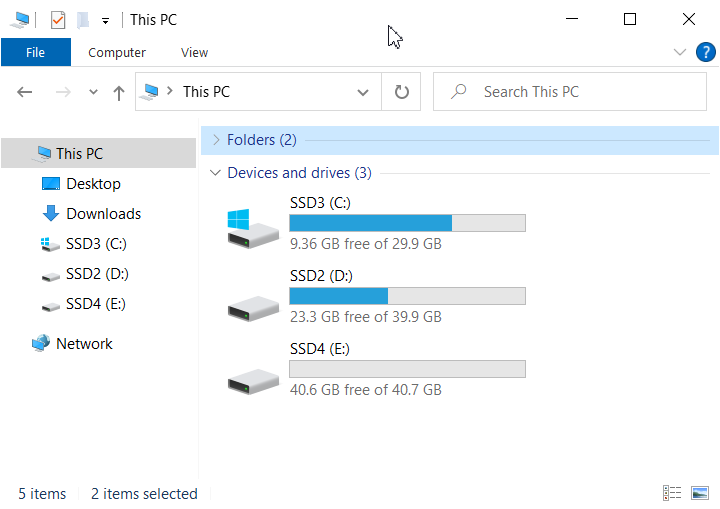
Changes displayed in the Windows Explorer file manager (note that Partition 2 (volume ID SSD2) is no longer available)

Document date - 6th July 2022